
Espresso Mousse Cups
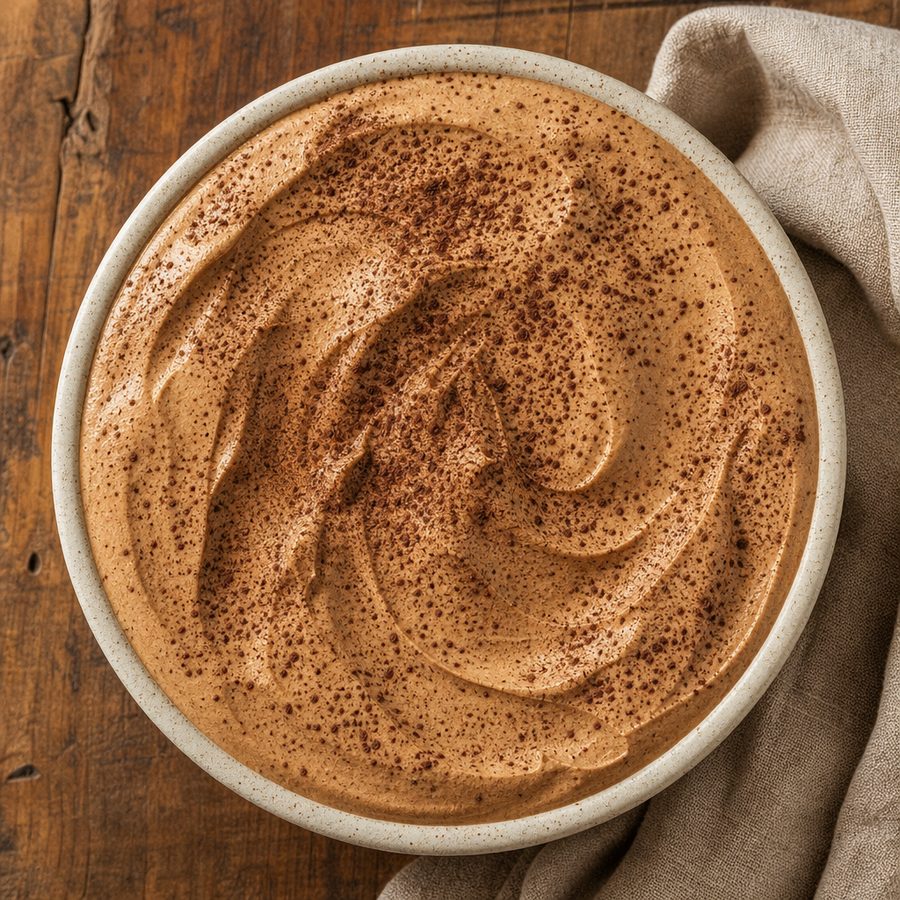
Light, airy cups of whipped cream folded with unsweetened cocoa, cooled espresso, and a little allulose, finished with a dusting of cocoa.
Why you'll love Espresso Mousse Cups
This mousse tastes like the best part of tiramisu: deep coffee, dark cocoa, and cool, cloud-light cream. It is made from whipped heavy cream folded with a paste of unsweetened cocoa, cooled espresso, a little allulose, and vanilla, and it sets softly in the refrigerator in an hour.
Making the cocoa paste first is the technique. Cocoa powder clumps when it meets cold cream, so it is stirred first with warm espresso into a smooth, glossy paste that folds evenly into the whipped cream. Whipping the cream only to soft peaks, rather than stiff, keeps the mousse silky and lets it fold without losing its air.
It is rich enough that a small cup is enough, and it comes together in 15 minutes.
Quick overview: This Espresso Mousse Cups takes 15 min of hands-on time and about 1 hr 15 min in all and makes 6 servings, each 1 small cup.
Ingredients
- 1/4 cup unsweetened cocoa powder, plus more to dust Label: cocoa, and nothing else
- 1/4 cup hot brewed espresso or very strong coffee
- 2 1/2 tbsp allulose Label: allulose, and nothing else
- 1/4 vanilla bean, split and scraped
- a pinch of fine sea salt
- 1 1/2 cups cold heavy cream Label: cream, with no gums or carrageenan
- Make it from scratch: Whipped Cream
Instructions
- Make the cocoa paste: Whisk the cocoa, hot espresso, allulose, vanilla seeds, and salt in a small bowl until smooth and glossy. Let it cool to room temperature.
- Whip the cream: Beat the cold cream in a large bowl until it holds soft peaks that droop slightly at the tips.
- Lighten the paste: Stir a large spoonful of the whipped cream into the cocoa paste to loosen it.
- Fold: Fold the cocoa mixture into the rest of the cream with a spatula until no streaks remain, keeping as much air as you can.
- Chill: Spoon into six small cups and refrigerate for at least 1 hour.
- Serve: Dust with a little cocoa just before serving.
Storage and leftovers
Cover and refrigerate for up to 2 days.
The mousse firms slightly in the refrigerator. It does not freeze well.
Variations
- Cocoa only: Use hot water in place of the espresso for a pure cocoa mousse.
- Orange: Fold in a little orange zest.
- With berries: Top with fresh raspberries.
- Cinnamon: Add a pinch of cinnamon to the cocoa paste.
Notes and tips
- Use cold cream: Cold cream whips faster and holds its shape.
- Stop at soft peaks: Overwhipped cream turns grainy.
- Cool the paste: Warm cocoa paste deflates the cream.
- Check the cocoa label: It should list cocoa and nothing else.
Nutrition and mindful eating
- Unsweetened cocoa brings deep chocolate flavor along with fiber, iron, magnesium, and plant compounds called flavanols.
- Heavy cream is the real fat that makes a small cup rich and satisfying.
- Espresso deepens the cocoa's flavor; use decaf if caffeine late in the day disturbs your sleep.
- A little allulose sweetens it lightly, so the cocoa and coffee lead.
- As you eat, notice the deep cocoa and coffee and the cool, airy cream, and pay attention to how a few spoonfuls can satisfy a chocolate craving.
Frequently asked questions
Have a question about this Espresso Mousse Cups? Start here, with the questions people ask most.
Can I use decaf?
Yes. Decaf espresso or strong decaf coffee works the same way.
Is this chocolate?
It is made with unsweetened cocoa, the cocoa bean without its sugar.
Why is my mousse grainy?
The cream was overwhipped. Stop at soft peaks.
Can I make it ahead?
Yes, up to 2 days.
You might also like
Start with the free guide
The RESET360 starter guide walks you through the plate, the daily rhythm, and your first week, sent straight to your inbox.